How to: Time-based dynamic image
Time-based dynamic Image is one that changes over time. With PickaPic, you have the ability to designate how a series (2 or more) of images are displayed in a timeline view.
For example, we want to generate a dynamic image for our newsletter readers that changes from day to night. If a reader sees the email newsletter in the AM, then she will be greeted with “Good Morning”. A reader to opens the email in the PM instead will see the “Good Evening” image.

Below is a step by step guide on how you can generate a time-based dynamic image.
STEP 1
Make sure that the “timeline” option is selected.

STEP 2
Start by drag & drop your image to upload. Add more images to the timeline with the same approach.

STEP 3
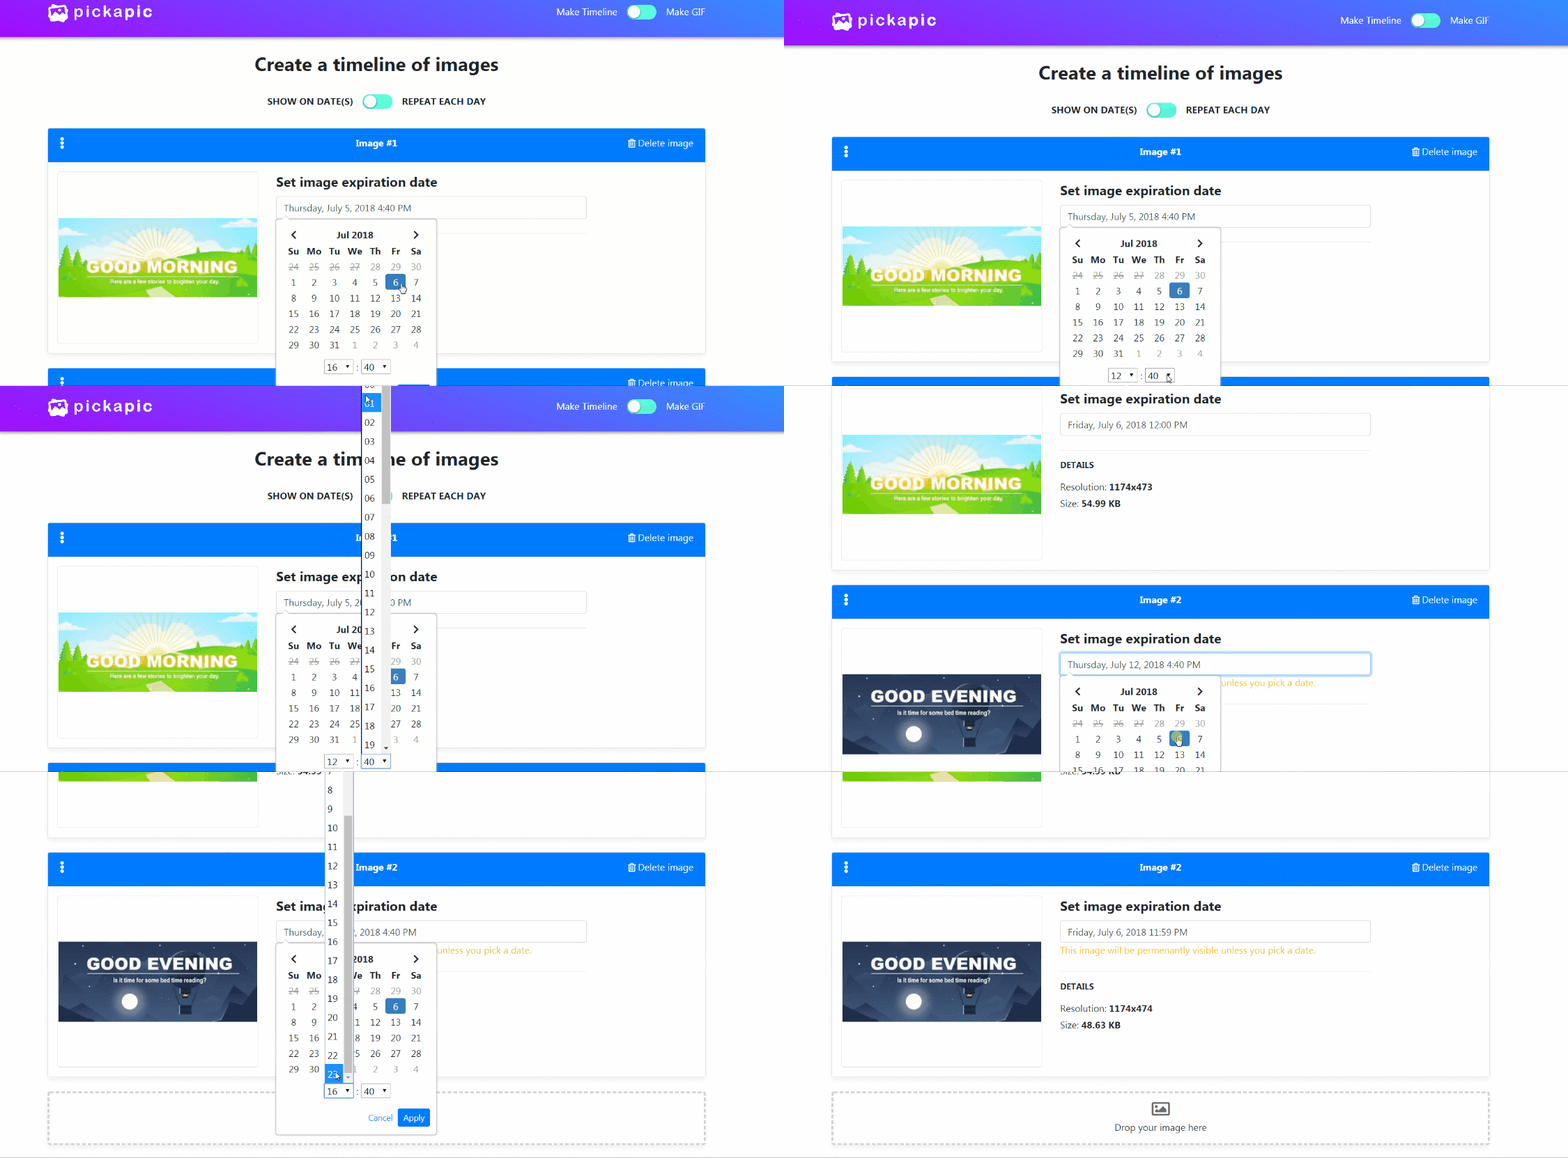
Set the Expiration data & time for each image. Each image is active until it’s expiration time. After which the next image in the timeline will be displayed.The last image in the sequence will always be displayed beyond its expiration time.
STEP 4
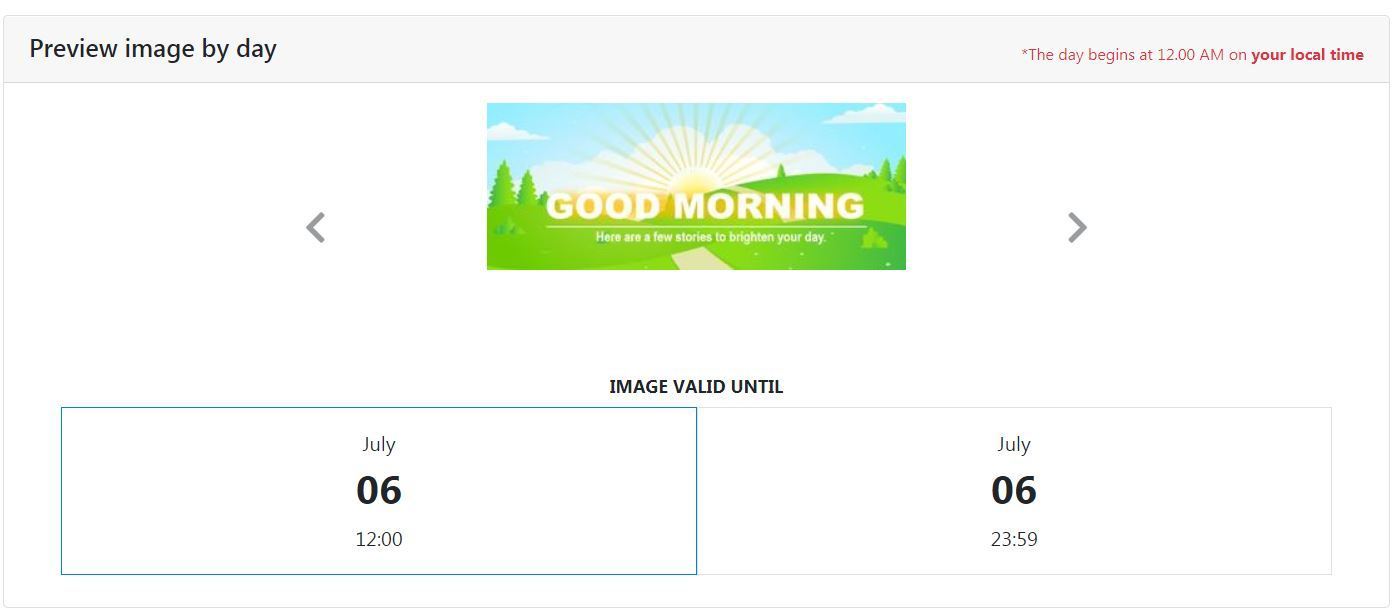
Preview your work. Scroll through the timeline to see how your image will be displayed.
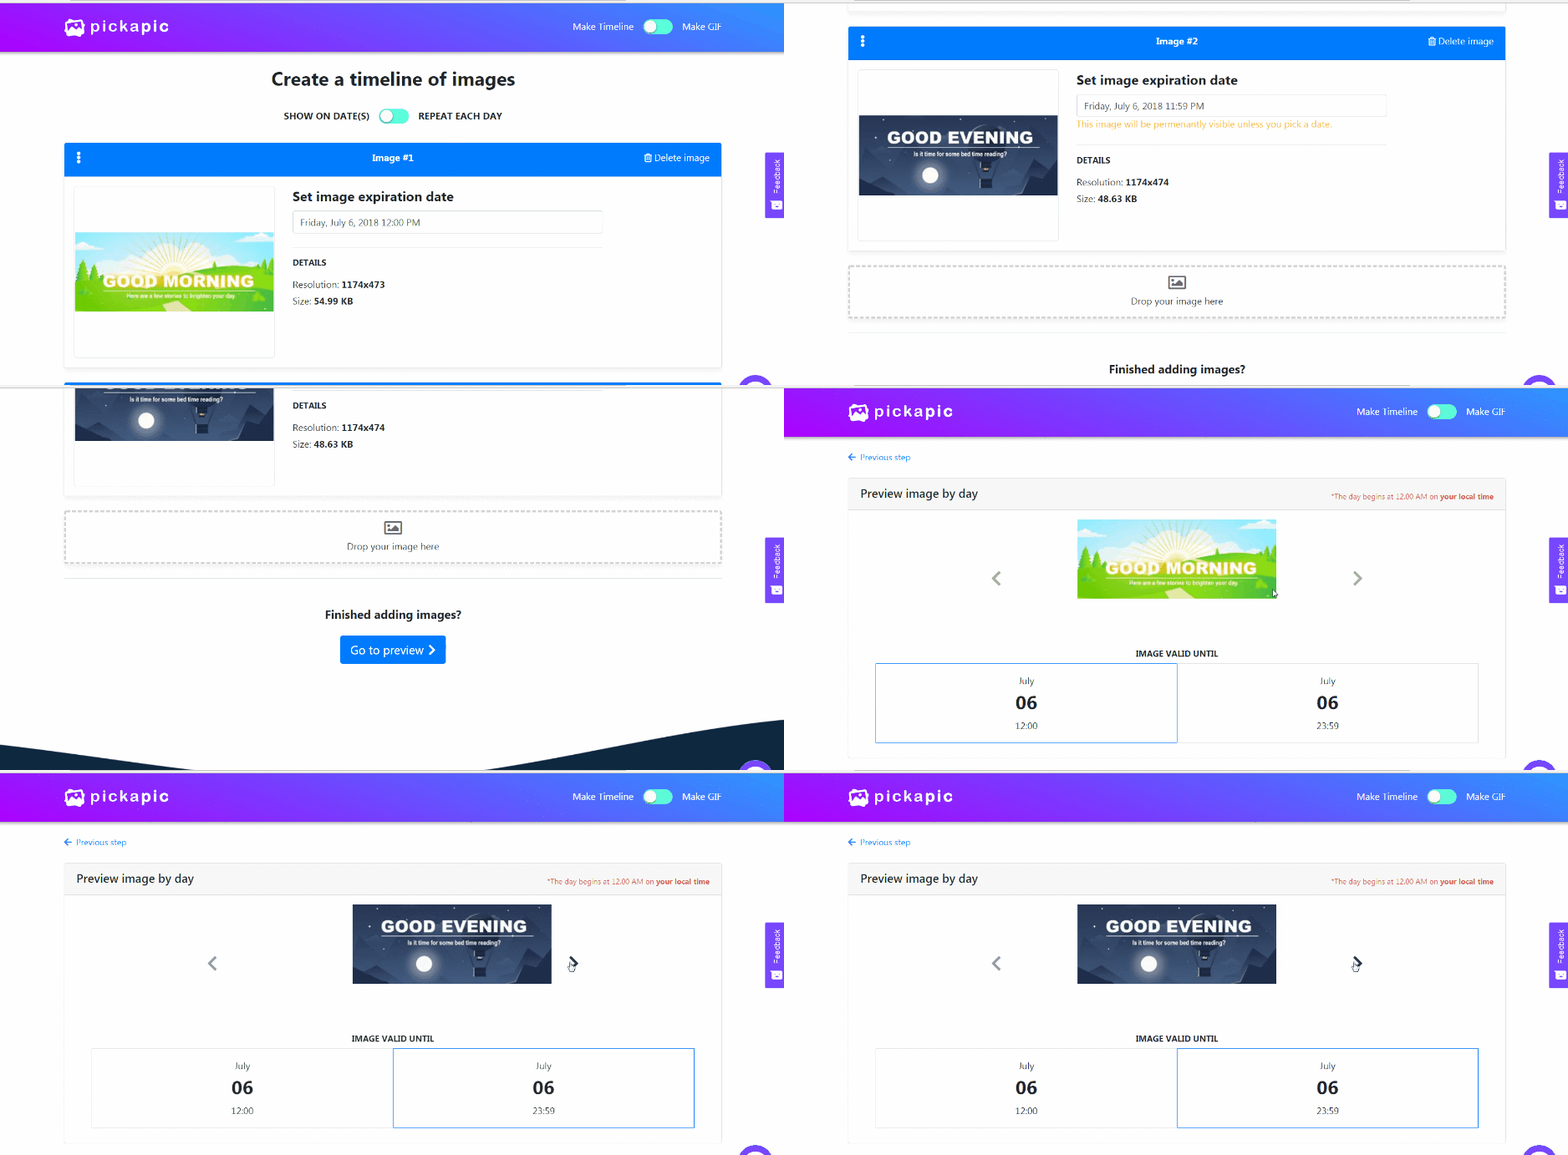
In this example, the “morning” image will be live up until noon (12PM).
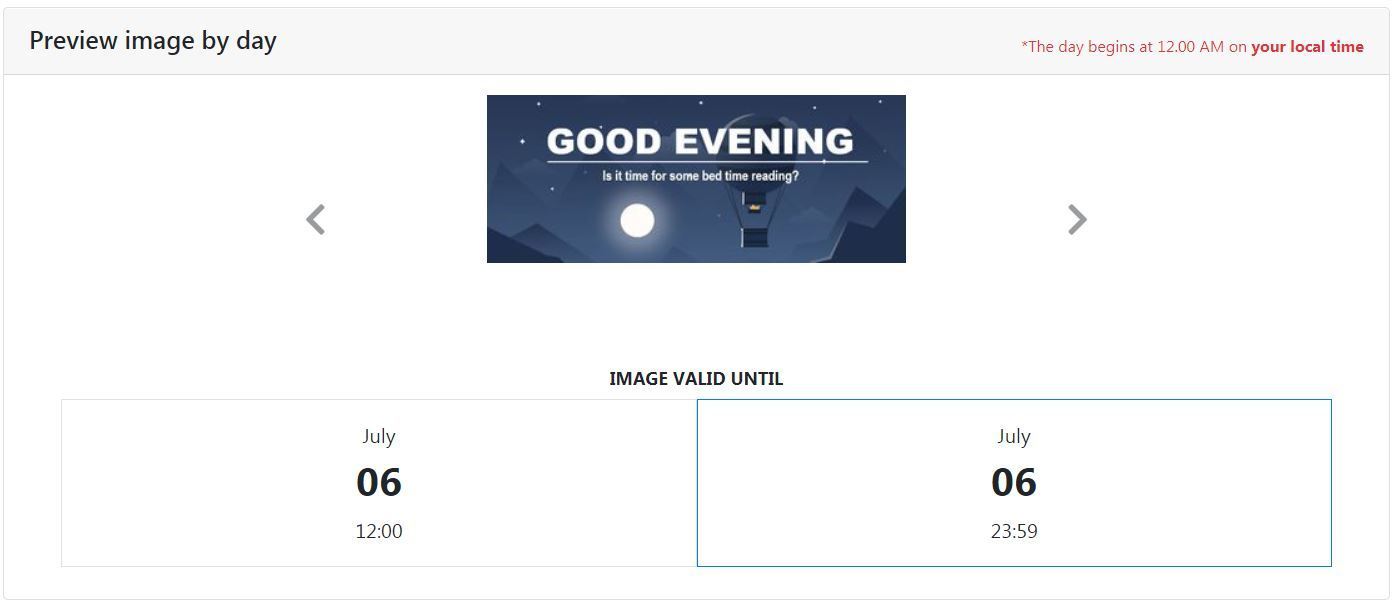
After 12PM, it will be replaced by the “Evening” picture.
STEP 5
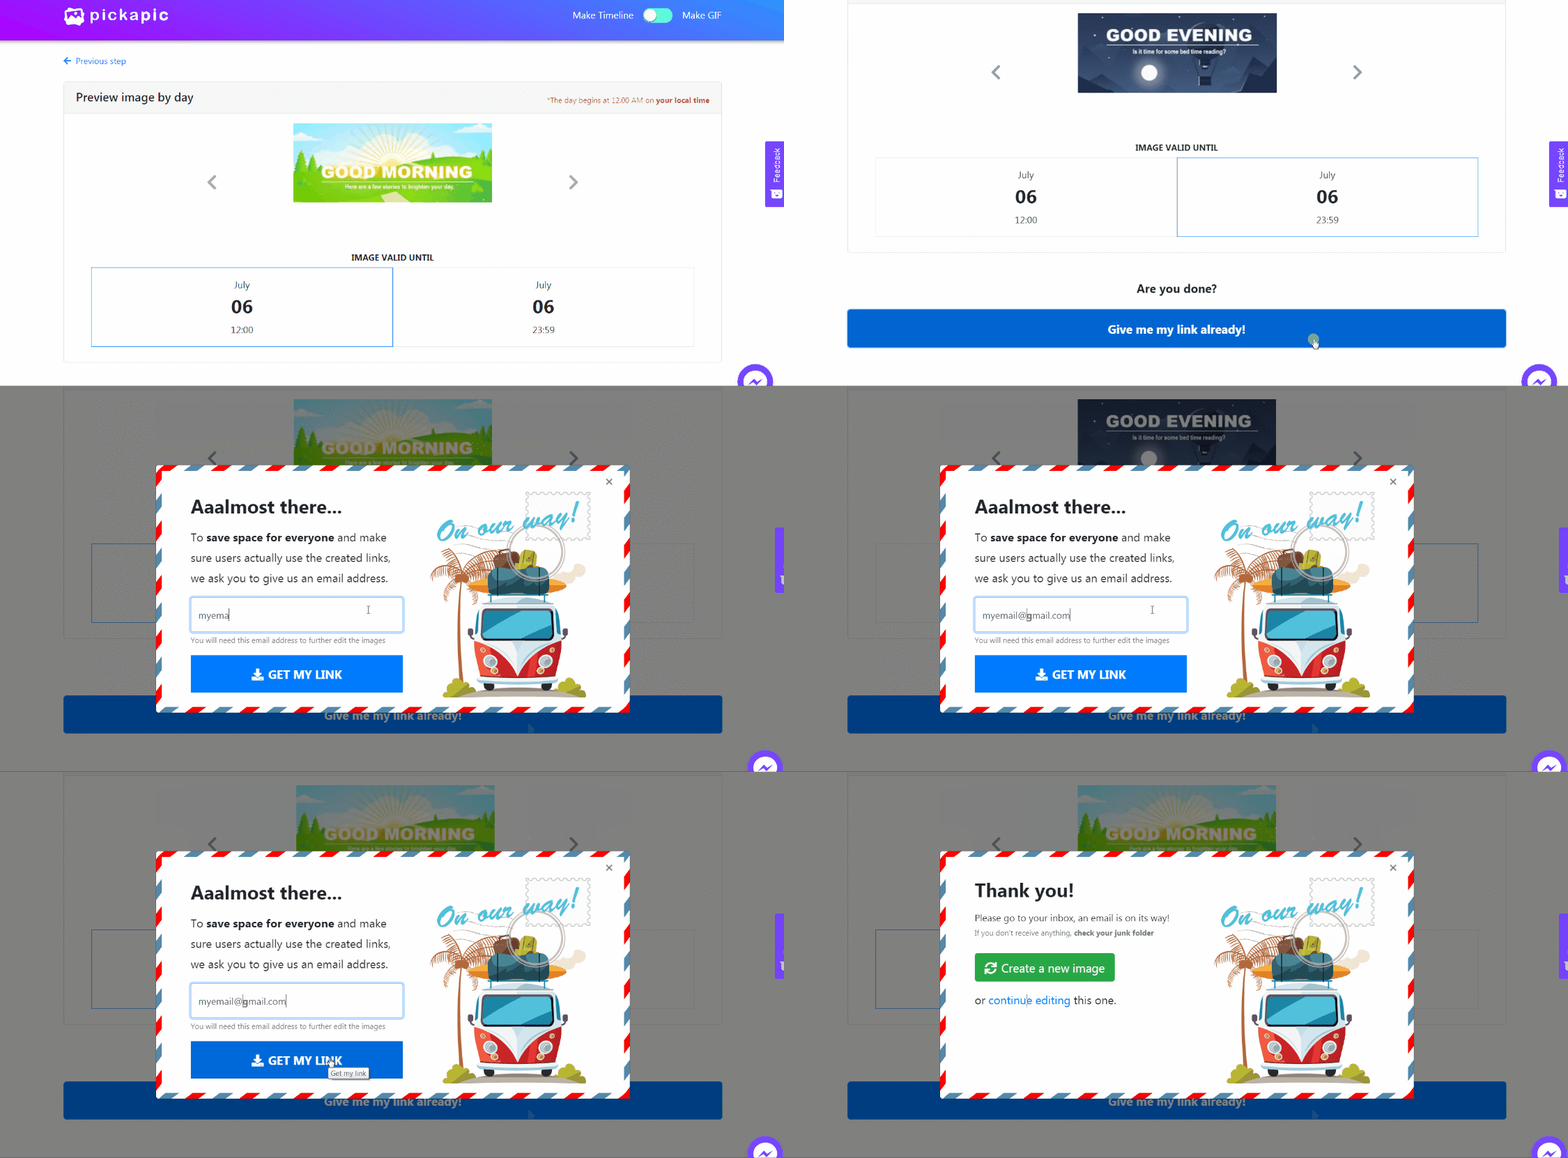
Finally, generate your unique link to your amazing dynamic image.Enter the email where you would like to receive the link. You also have the ability to edit your work any time in the future.
